 There are times when you miss the line. And there are other times where you want to creep up on it. In either case, you need to perfect your paring cuts.
Paring is an act performed with a chisel in a very controlled manner to remove small bits of material. You don’t normally pare while using a mallet. It’s a kinder, gentler method of ripping waste material from a board.
Paring Cuts
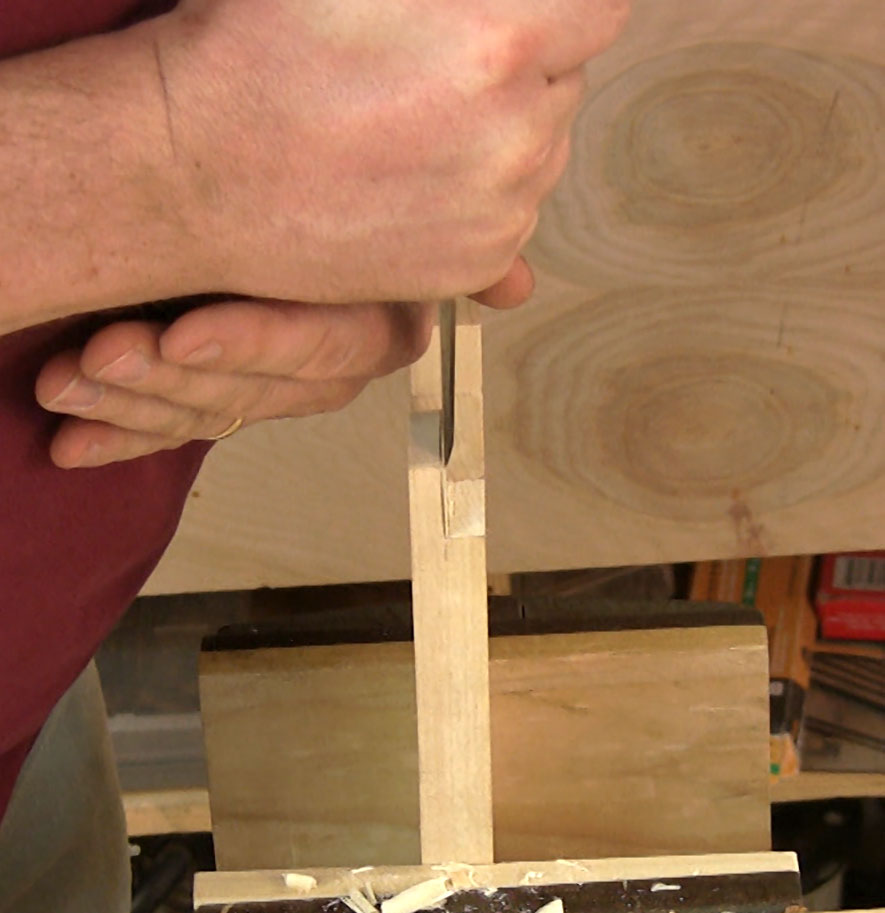
 To practice this skill, you need to grasp the different cuts you can perform. Primarily paring uses push cuts (similar to the push cuts I showed you in the carving post), and they are either horizontal or vertical. Each requires a bit of muscle memory to perform well, but can quickly be developed.
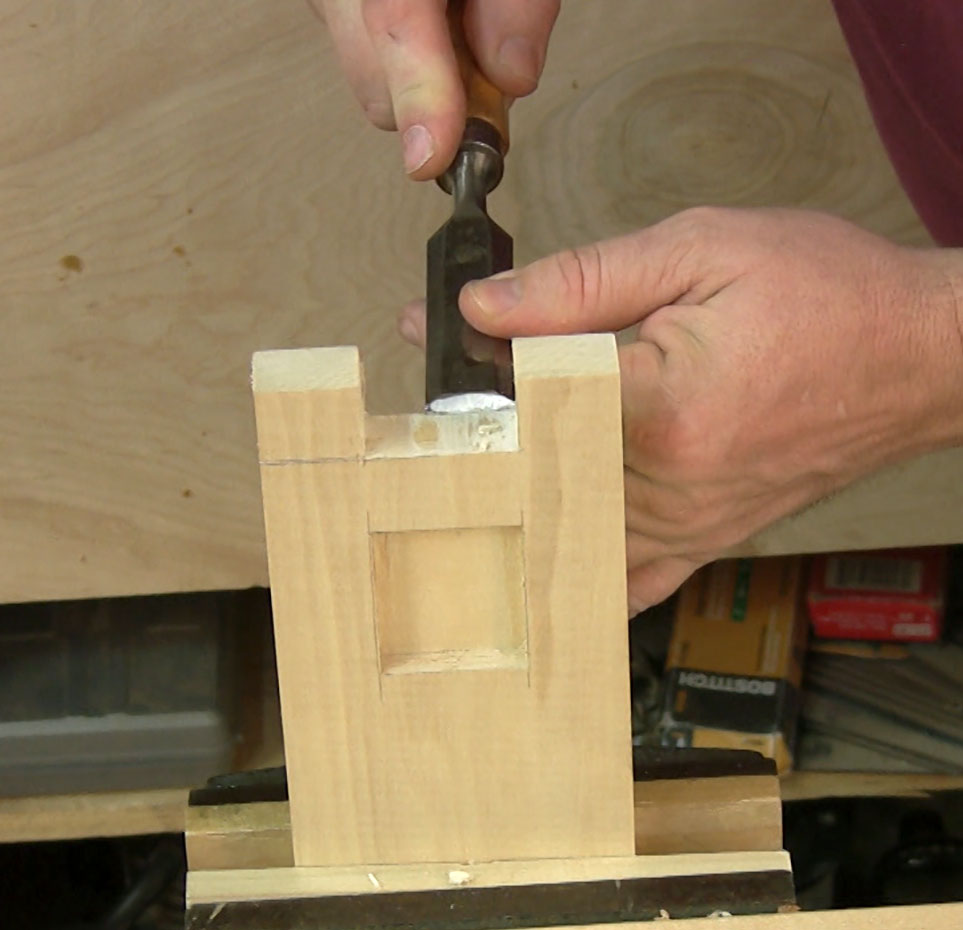
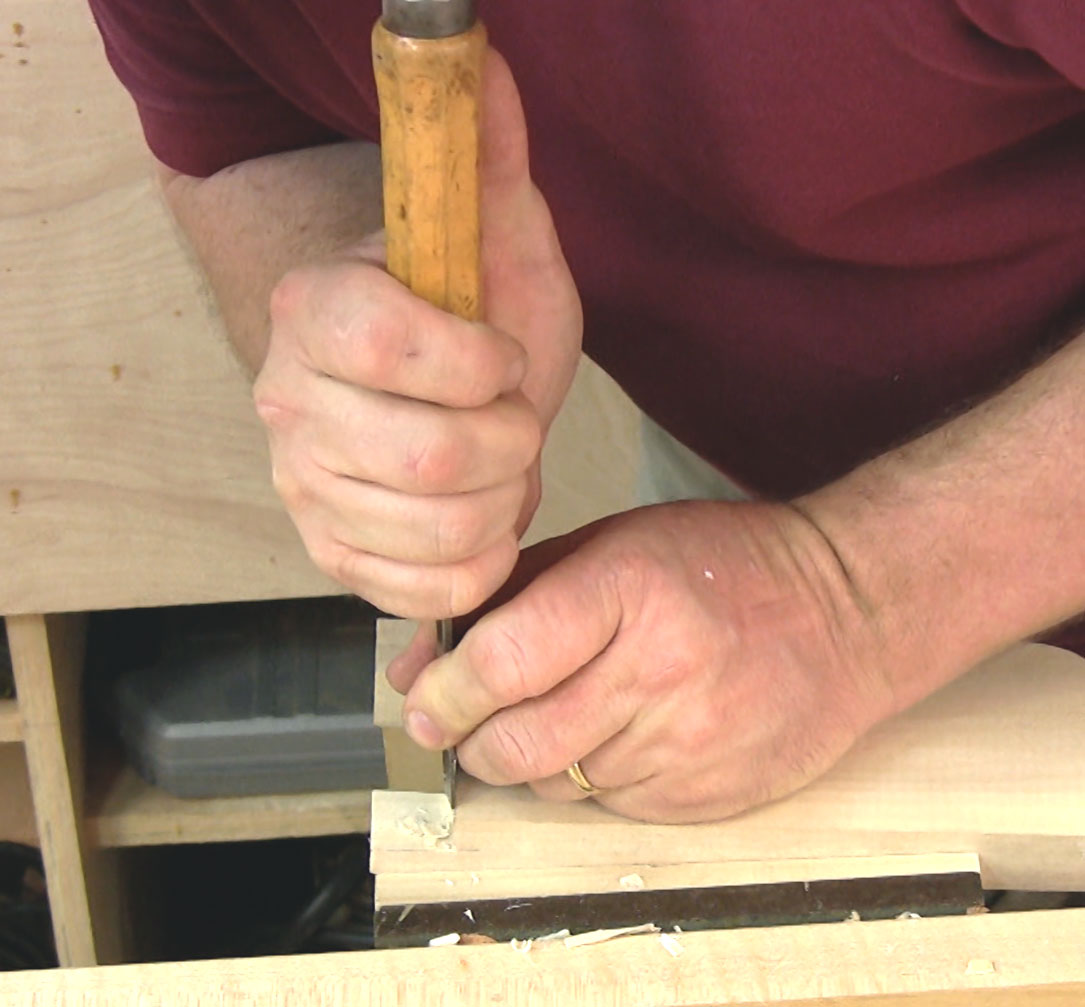
Paring cuts are all about control. I demonstrate using my right hand in the dominant position providing the power for the cuts. My other hand restrains the chisel and directs the edge of the tool.
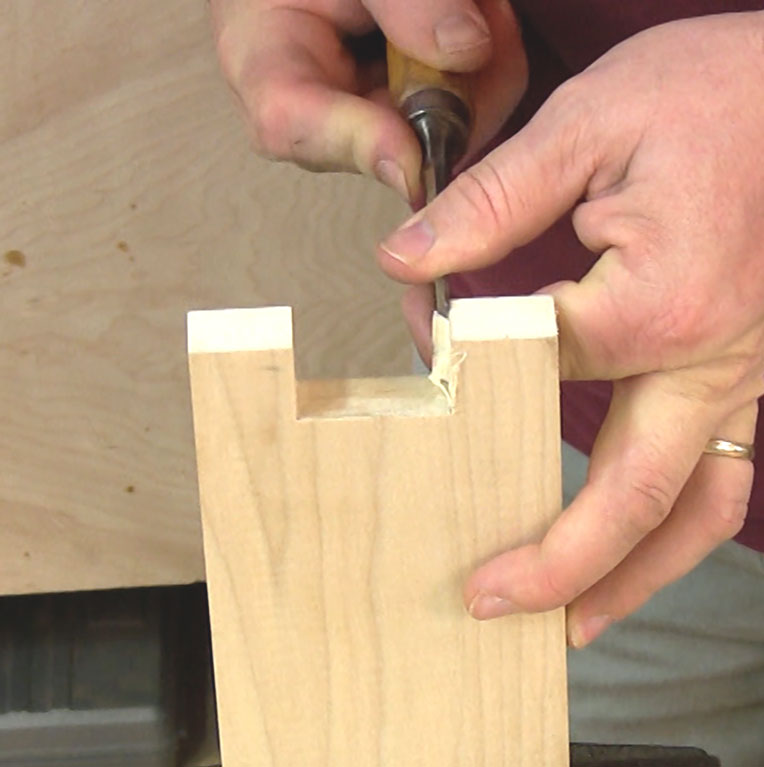
Often when paring, I use various parts of my hand and the back of the chisel to register the cut. In the video, I point out where I place the backs of my fingers against the wood to help keep the chisel perfectly vertical. And in another section, I show how I use the back of the chisel to pare a shoulder flush.
Once you’ve mastered paring cuts, you’ll be ready for next week’s installment – slicing cuts.