 Today, I released a new YouTube video on how to “Build a Tool Wall – No BS Style.” In that video, I show the mitered box joint that I use on each of the corners. But I don’t give you step-by-step instructions on how to make and set up the jig. It’s a big part of the product build that I thought better as a separate instructional video.
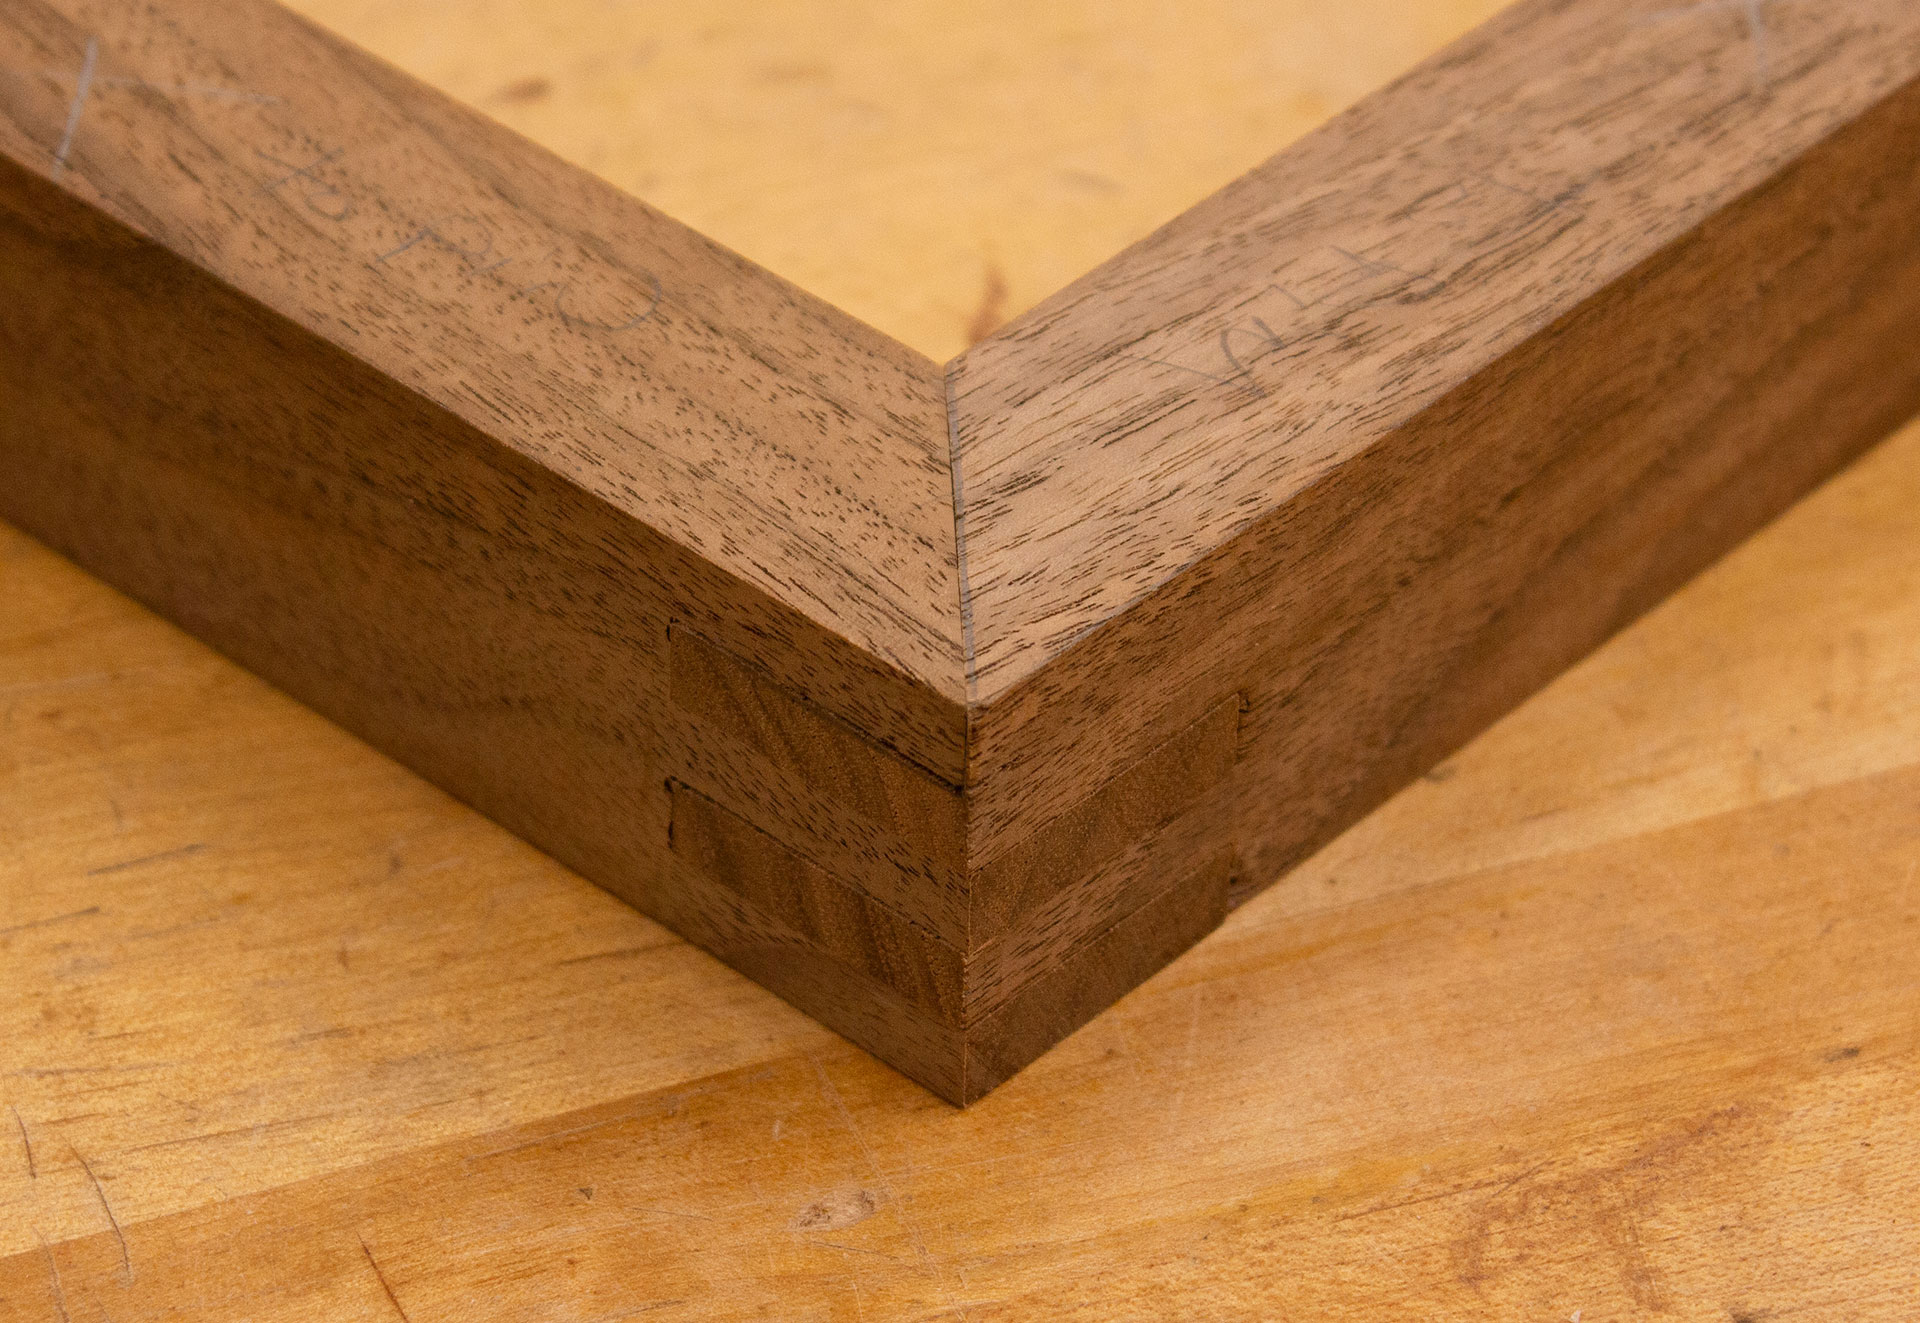
Generally, box joints are jigged up and run through each side of the box’s entire width. But I made a frame that holds the panel for my tool wall. I needed a joint that is exceptionally strong but doesn’t look like a butt joint. Frames look best to me when they’re mitered.
Because there’s so much glue surface in a box joint, it fits the bill as exceptionally strong. But it looks like a butt joint from the side. So, it only provides half of my requirements. The solution is simple – miter the outside fingers of the joint.
Mitered Box Joint
 If you’ve never made a box-joint jig before, it isn’t hard. I start with a scrap that I used as an auxiliary fence for my miter gauge. Determine the number of fingers in the box joint – I usually shoot for a dimension that provides whole fingers from start to finish. In the frame for my tool wall, the thickness of the frame is 1-1/4″, making 1/4″ fingers the perfect choice because it gives the joint five complete fingers.
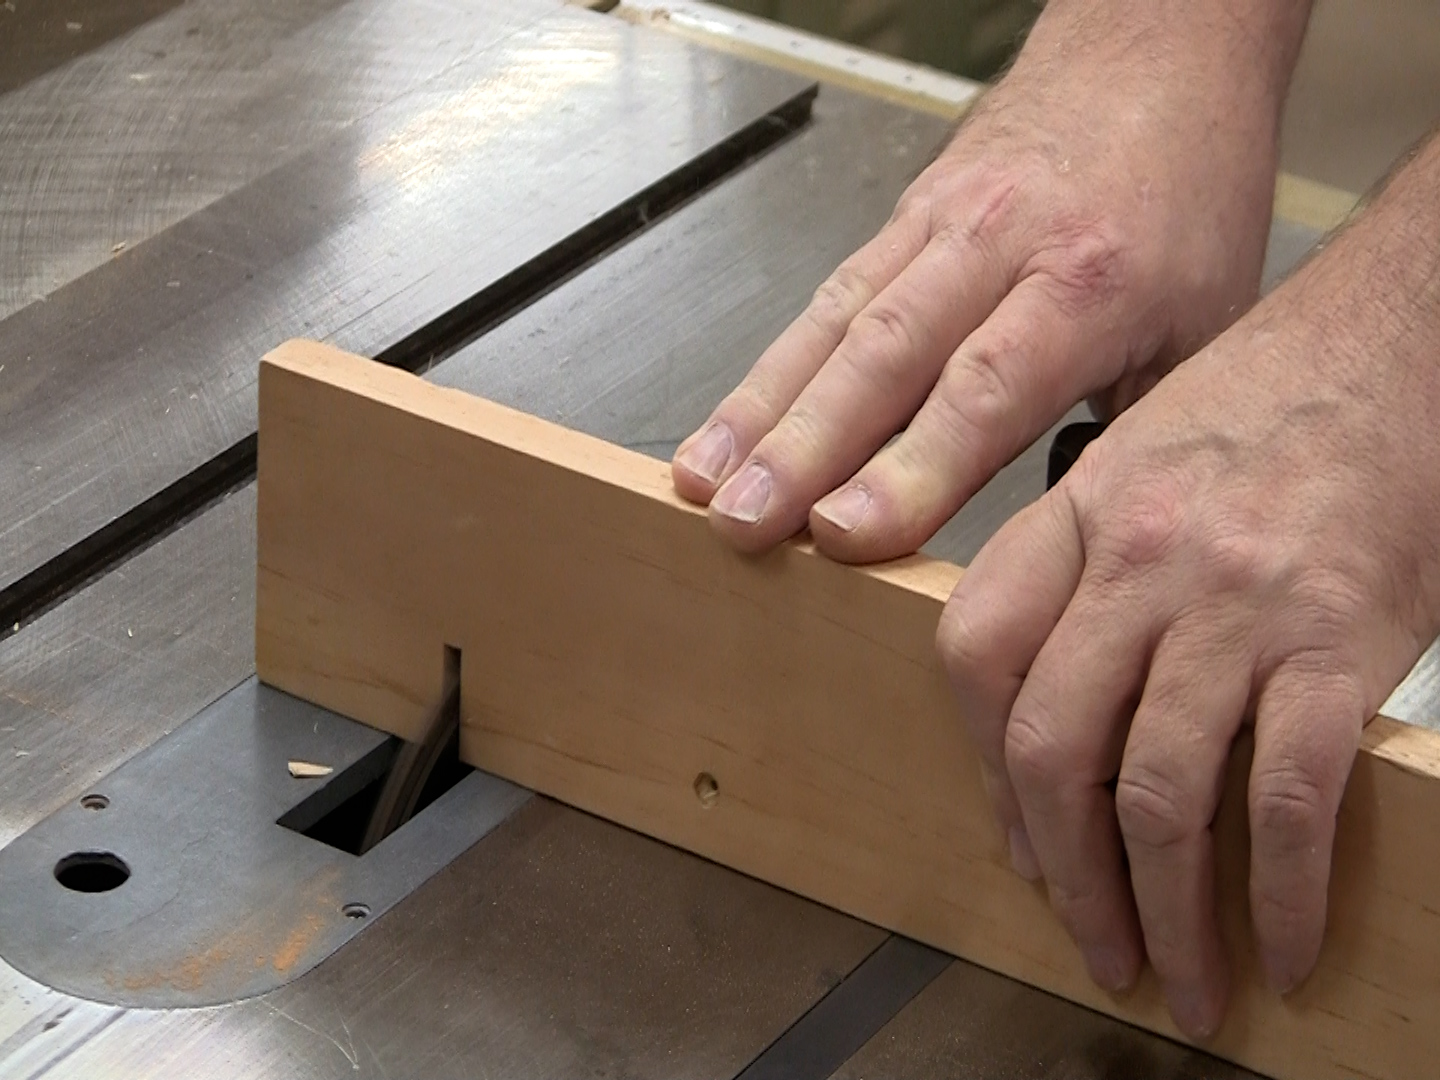
Set up the 1/4″ stack dado to the proper height (slightly higher than the pieces’ thickness to be joined) and cut through the auxiliary fence.
 Rip or plane a strip of material to act as an indexing pin. This material should fit snugly into the dado, but not so tightly that you have to hammer it into place. A slip fit is what I want.
I also like to allow the pin to protrude about 1″ but anything over about 1/4″ will work. Cut off the material for the pin and save the remaining strip. This is crucial to proper setup of the jig. Time to test the jig.
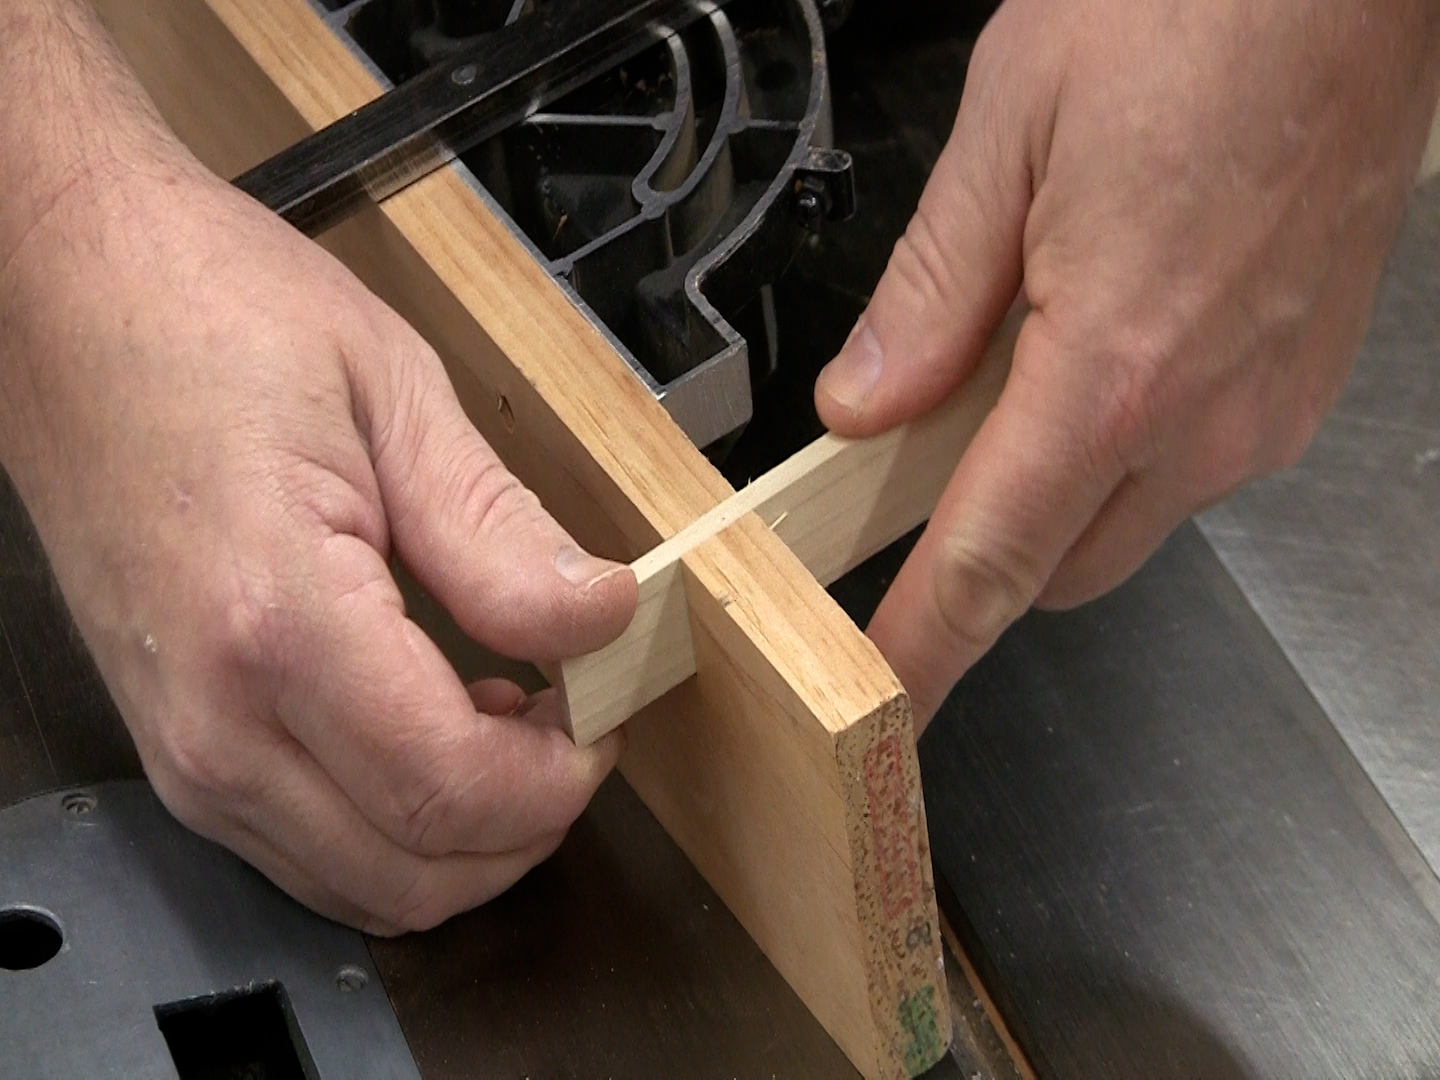
 Using the remaining strip of pin material, lay it alongside the stack dado – ensure you’re touching a carbide tooth on both the front and back of the blade; otherwise, the spacer strip will be at an angle. With the jig held against the miter gauge, slide the pin until it just makes contact with the spacer strip. Clamp the jig to the miter gauge.
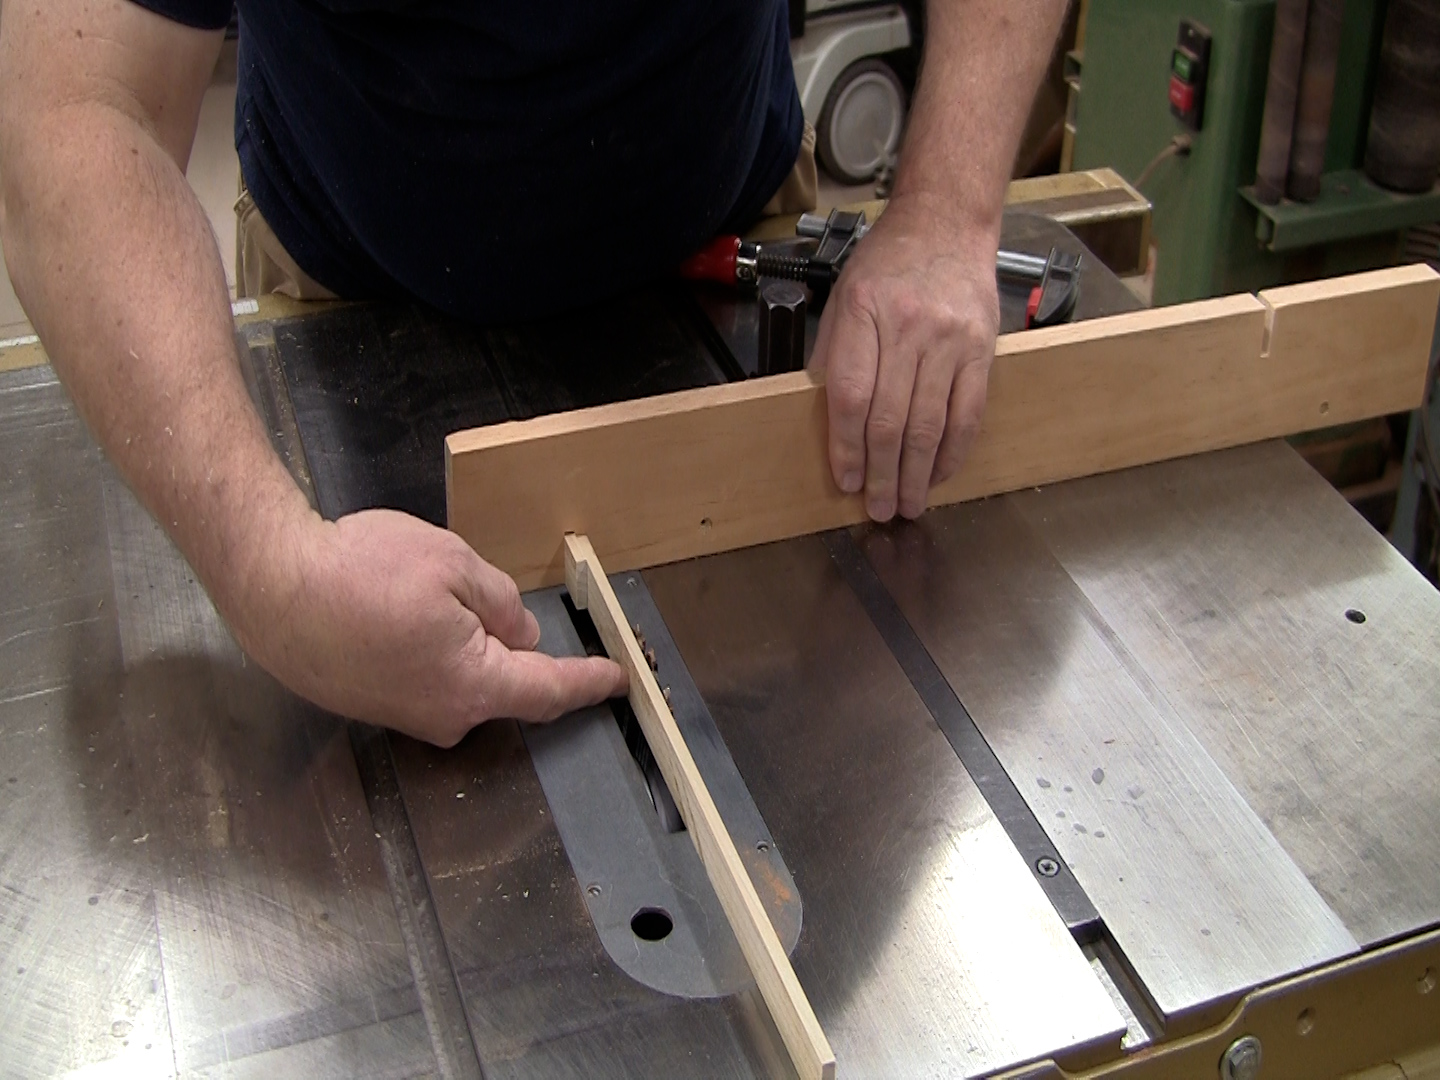
With the jig set, run a test. I like to use off-cuts from the actual project because there’s less room for error. If my project materials are close in size to final, I’ll mill a bit of extra material when I make the parts.
When testing the joint:
- If the fingers are too tight, move the pin closer to the dado stack.
- If the joint is too loose, move the pin farther away from the dado stack.
Mitered Fingers
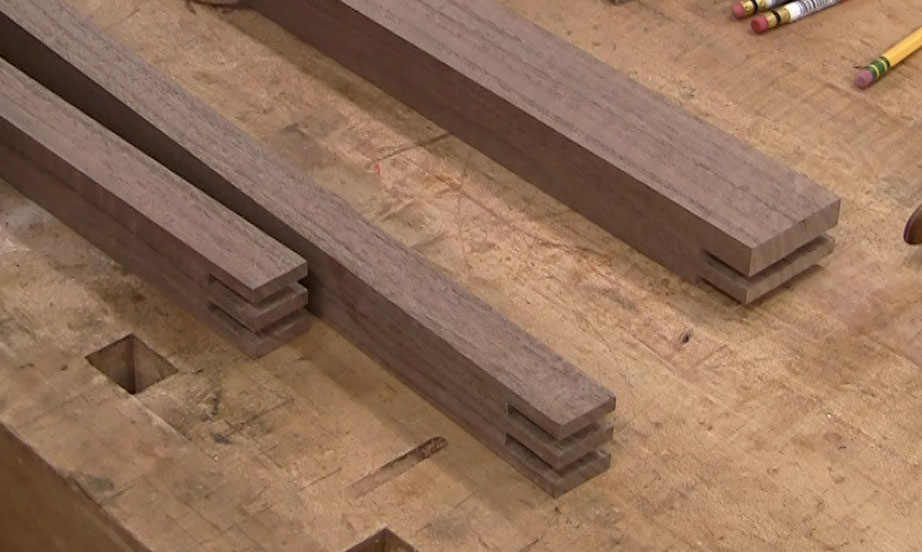 When running the box joint on the table saw, you can’t follow the normal procedure of cutting both halves entirely. The second part of the joint begins by cutting a rabbet on the outside face of the material. The final cut is one short of making the corresponding rabbet on the opposite outside face. If you run the last rabbet, you’ll have nothing to create the miter.
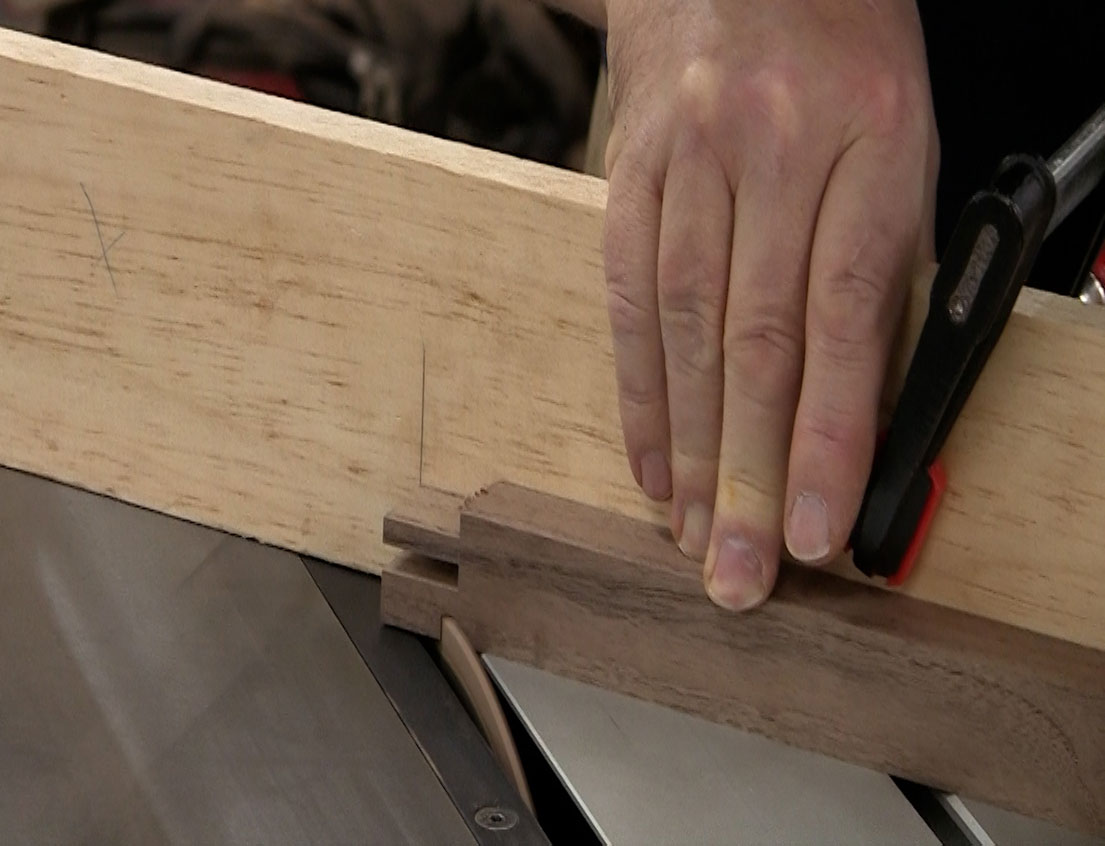 The easiest way to create the miter joints is to cut them on the table saw. Rotate your miter gauge to 45° and set the depth of cut to the exact thickness of a single finger. For the joint I’m making that dimension is 1/4″ high. I also marked a line on the miter gauge to line up the end of the board so the cut falls exactly on the baseline of the box joint. Cut half the pieces with the miter gauge tipped in one direction, then rotate to 45° in the opposite direction to complete the cuts.
To complete the miters, mark and saw away the waste with a handsaw. Final fitting is done with your choice of a shoulder plane, chisel, or file/rasp. The method is far less important than the end result. Take a look at the video below for more details on how to make a mitered box joint.
And to see the joint in its native environment (my tool wall), check out the build video on my YouTube channel (or watch farther down in this post). But be sure to visit my channel, subscribe and ring the notification bell so you don’t miss an episode of No BS Woodworking.
Mitered Box Joint
Just had a chance to look at the mitered box joint very nice. The video certainly clarified the method of achieving the miter especially with determining how to cut the shoulder properly. Could you achieve the same result following how you can sneak-up on the mitered dovetail (by fitting the joint together and making successive cuts bringing the joint closer together each time)? Definitely a much cleaner look! Thanks Chuck.
You certainly could use the same method as the Mitered Dovetail to sneak up on the fit. When I cut the miters on the table saw, I didn’t have to do any additional fitting because I used the baseline of the box joint to position the cut. If you would rather sneak up on it, cut the miters a little fat of the baseline, then saw away to assemble.
Enjoyed the article/information. Haven’t tried to do a mitered box joint but will now!