 The culmination of the last three blog posts on Bench Chisel Exercises is today’s Simple Diamond Inlay. As my friend Ron Herman is fond of saying, “Perfect practice makes perfect.” And if you’ve been working along with the videos, you should be ready for something more complex and fun.
Undoubtedly, the idea of setting up at the bench and endlessly practicing chop, paring and slicing cuts isn’t all that appetizing. It is necessary, however, to build muscle memory and the skills for more difficult tasks. And while the diamond inlay in today’s exercise isn’t a major hurdle, starting with it is akin to jumping into the Boston Marathon without ever having been in a race before – it can be done, but most people are going to struggle greatly.
Diamond Inlay
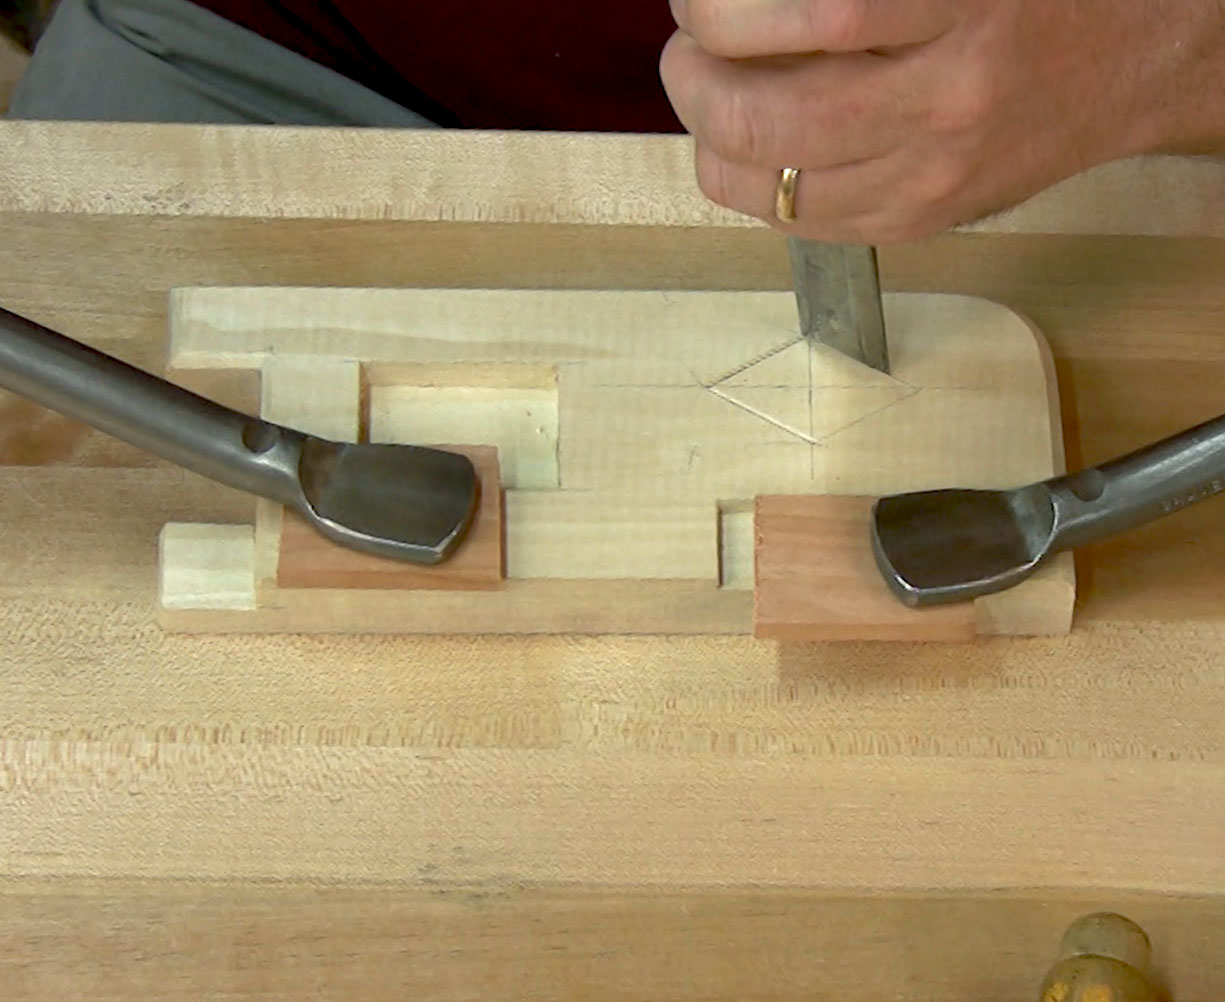
 The diamond inlay itself begins with making the diamond. Dimensionally, the blank is 1/4″ thick, 1-1/2″ wide by 2-1/4″ long. I made mine out of cherry, but any hardwood will work. I start by drawing “x” and “y” axes onto the diamond material, then plot the overall dimensions.
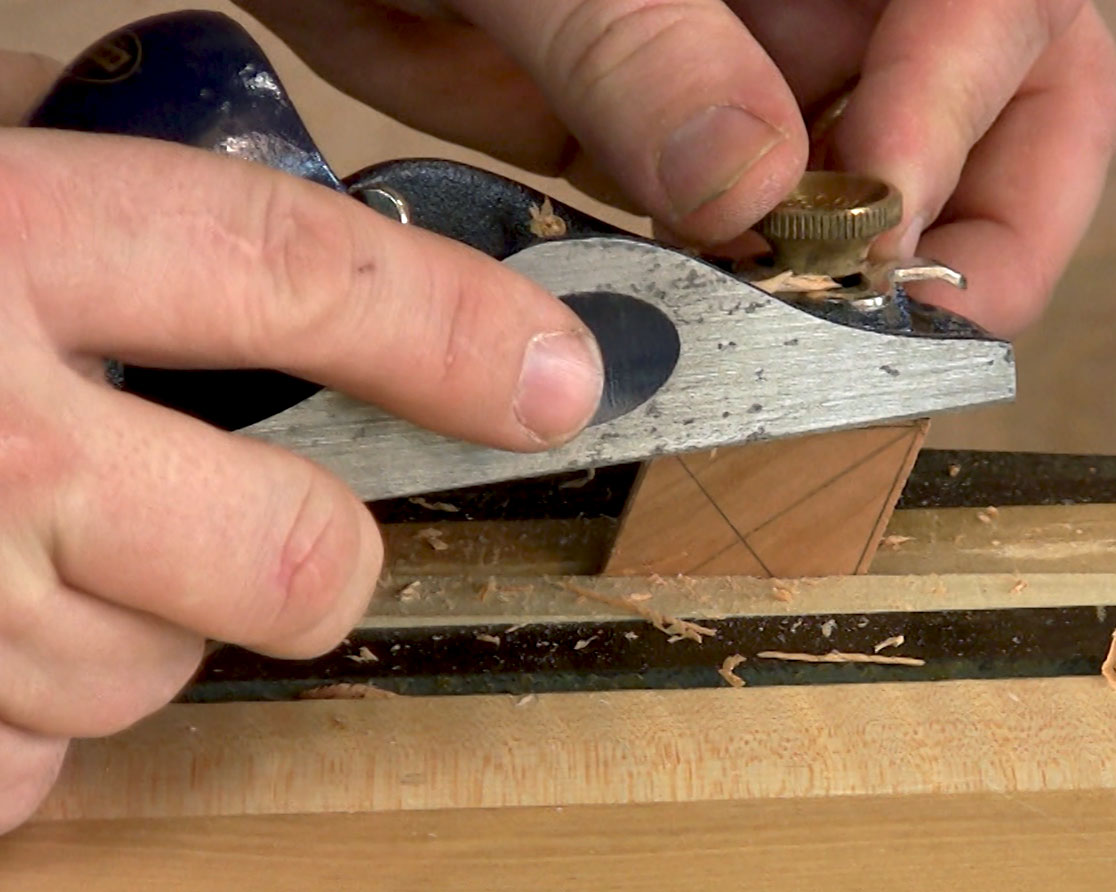
Cut out the blank slightly oversized. A block plane is your best friend for final dimensioning. Tip the plane to 3° or so (but not much more than 5°), the bottom side of the diamond needs to be smaller than the top. You want to consistently plane each side of the inlay at the same angle, or your diamond will take on a new shape once inlaid.
You’ll also want to pay particular attention to grain direction when beveling the sides of the diamond inlay. You should be working from the widest points toward the ends of the diamond. Going the other way could produce a very odd-looking diamond.
Time to have some fun.