 I get it; all the prep work in the world isn’t as exciting as seeing the carved details. That’s why, after several weeks of presenting the foundational steps to carving a scallop shell, I’m offering the final segment in the series. If you’re a details person, this post is for you. And if you’ve been having trouble envisioning how the shell comes together today’s video should clear things up.
Part of nearly any successful woodworking project is the ability to look at the final product and mentally break it down into its integral steps. Over the last few weeks, I’ve taken a simple carved scallop shell and divided it easily achievable bites. Whether you are into period furniture or not, carving a scallop shell is a great introductory project to the wonderful world of woodcarving.
Carved Details
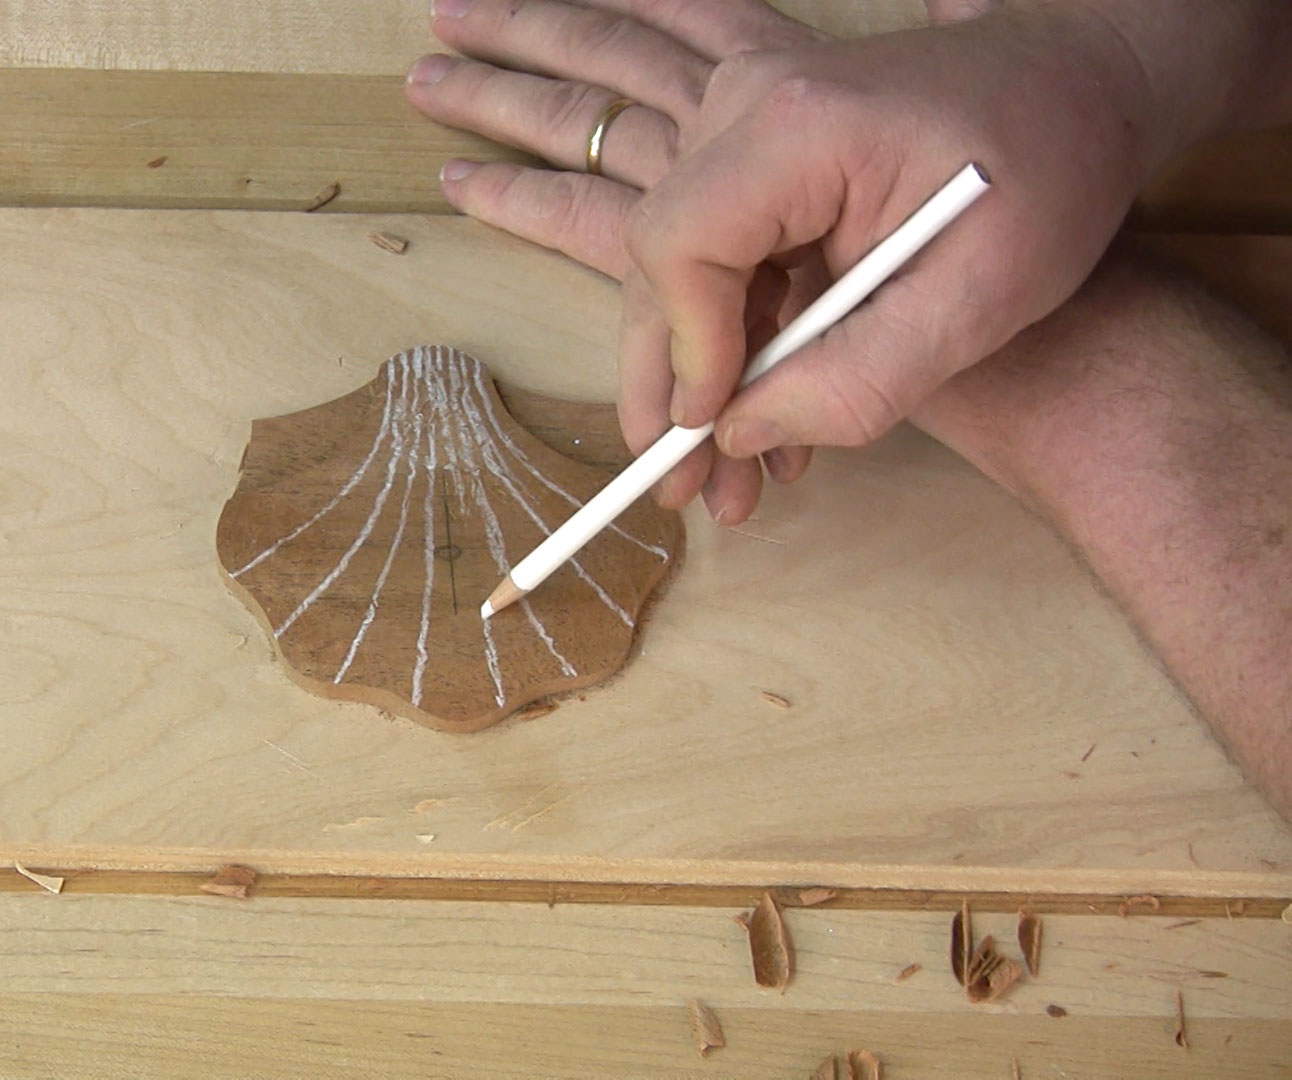
 With the topography fully excavated (click here to learn how I did it) you need a roadmap to the final destination. Unfortunately, this involves some basic sketching skills. Don’t worry if you can’t draw. I’m not asking for your rendition of the Mona Lisa. And if your road trips are anything like mine, the map doesn’t need to be all that accurate. Create a pivot point for the heel of your hand and strike a few arcs. If they aren’t perfect, make adjustments. And if they are still way off base, make the corrections with the carving tools.
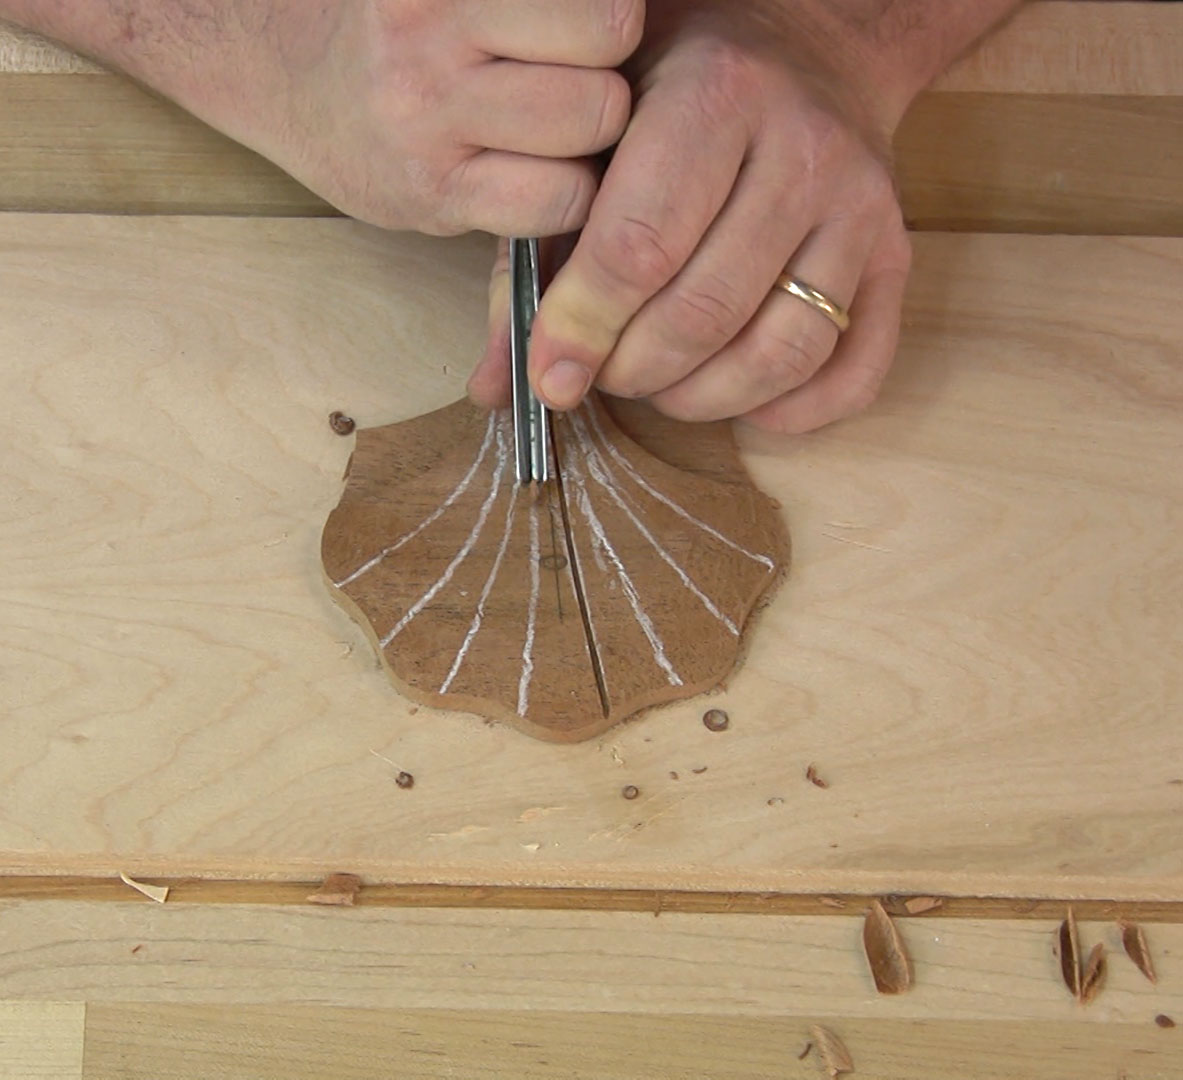
No matter the carving I’ve always looked at the sketched lines as general guidelines. A suggestion of the direction you’re supposed to go. That’s probably because I often drifted away from them, or didn’t read the grain direction correctly and ended up with a “design change.” The whole point of the scallop shell exercise is to give you an introduction to reading the grain direction, not to provide a rigid step-by-step process that ensures a perfect carving on your first try.
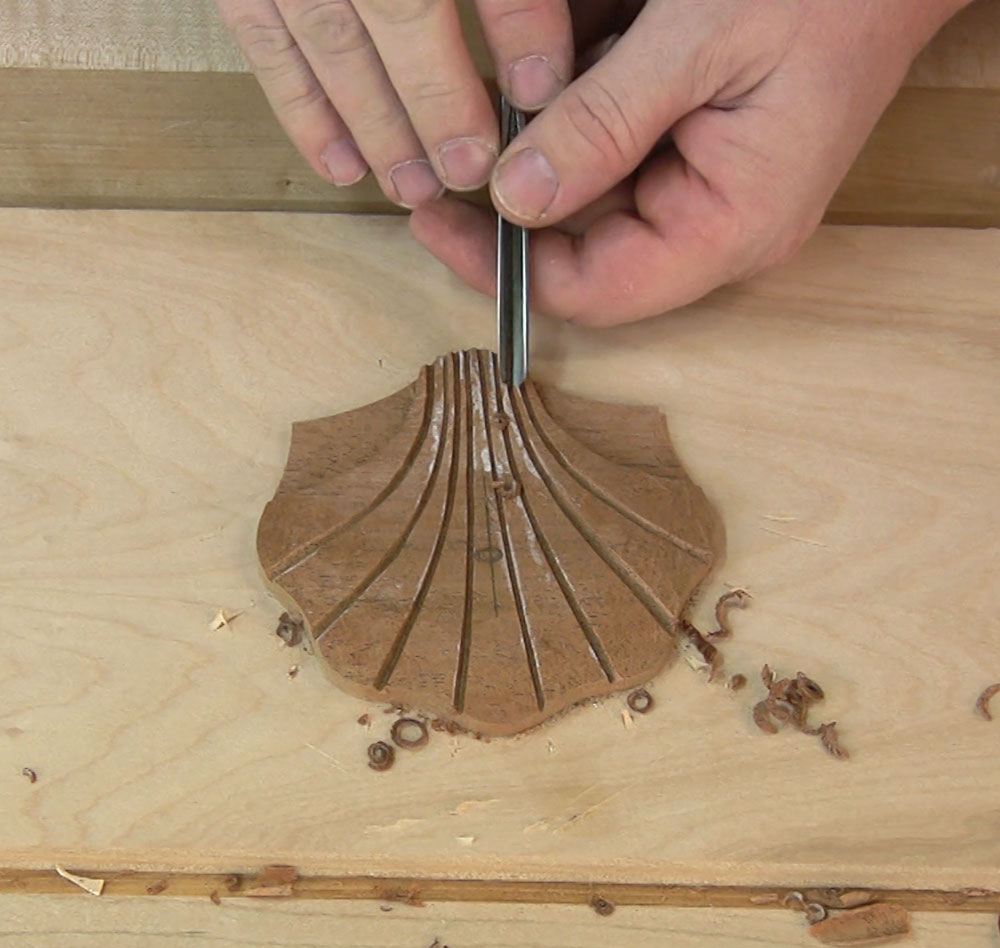 The project is small enough to be made from scraps you already have around the shop. It can be made in nearly any species of wood, though some woods will dramatically increase the difficulty. And since you’re using scraps, dive in, give it a try. When you’re done the first shell, step back and objectively assess what went well and what needs improvement. Grab another scrap and work on the parts of the process that need improvement. And if you run into something you can’t wrap your head around, click my signature at the end of this post (and every other post for that matter) and shoot me an email. I’m happy to help.