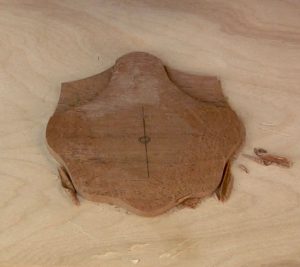
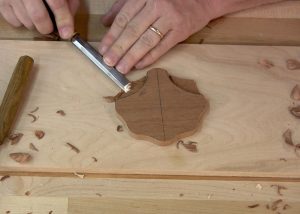
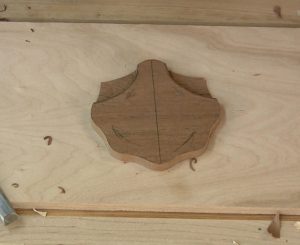
 Like many other types of carvings, you need to establish a topography by excavating the scallop shell. In other words, you’ve got to form the blank to a general shell shape before you can carve the details.
I use bench chisels for the vast majority of this excavation, but you could certainly use larger, flatter-sweep gouges if you prefer. If you’re at the beginning of your carving experience and you’ve limited yourself to my recommended started toolset you’re stuck with using bench chisels.
Excavating A Scallop Shell
 You need to establish a center line and the high point of the shell. Before you can begin roughing the body of the shell to shape, however, you need to draw and carve the scallops or fins of the shell. Typically, I draw the line freehand, but you could certainly establish them using a compass or tracing paper.
If you’re freehanding it like me, use dividers or a ruler to create reference marks at the start and end of each line. You can also plot distances from the peak of the scallop to help with symmetry. I don’t mind a little bit of variation, so I avoid the additional work.
 Once you’ve lowered the scallops, the real excavation can begin. With any carving, reading the grain direction is of primary importance. Before I jump into sculpting the overall shape I draw in reminder arrows showing the direction I should generally carve at various points on the shell.
In the video below, Part 3 of the Carve a Scallop Shell series shows how to create the overall topography of the carving by excavating the scallop shell blank. The trick is to establish reference points and envision the overall shape. I tend to mark my reference points at high spots and carve down from there. Locating the peaks leaves the reference points intact throughout the carving process.
If you’d like to learn more about carving for furniture, check out my Carved Elements: Finials & Fans class August 19th through the 23rd, 2019.