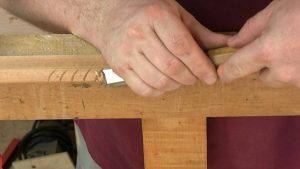
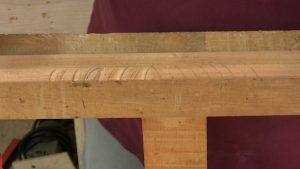
 Years ago, as I wandered the rooms at Winterthur, a carved detail on some of the Chippendale furniture caught my eye – gadrooning. Although you may not be familiar with the term, you’ve probably seen this type of carving. It resembles a rope with alternating hollows and rounds.
And while gadrooning is found on high style pieces, it’s also an excellent intermediate carving exercise. In fact, it builds on the techniques used in the Scallop Shell.
Gadrooning
 There are two types of gadrooning, filleted and smooth. Like the scallop shell, the filleted version starts with layout, then define the separation of the convex and concave lobes. Once you’ve got the lobes separated, work on the convex portions. Working them first avoids damaging the fillets.
For rounding off the convex lobes, a slicing cut works best. You’ll also need to pay particular attention to the grain direction. Be sure you’re always carving, “downhill” even if you have to carve from the bottom of the workpiece to the top.
 The concave lobes are similar to the convex in that you need to work one half in one direction, then reverse to do the other side of each individual lobe. Carving both halves of each lobe completely from top to bottom ensures a ragged surface. Be sure to divide each lobe in half, and carve in the proper direction.
The smooth type has no separating fillets between the lobes. When you carve it, start by defining the concave lobes. Once you’ve got all the concave sections carved, go back to your slicing cuts to blend the convex sections with the concave for a smooth ripple effect.