 The skew is one of the more difficult woodworking tools to master, but it’s definitely worth the effort. If you plan to do any amount of spindle turning for your furniture projects, you can save tons of time and effort with a skew. When used correctly, it leaves a near finish-ready surface.
The key to getting that silky smooth surface is in how the tool approaches the work. If you’ve got the tool lying flat on the rest, you’re not cutting you’re scraping. And that’s not what will produce the best surface.
If you are going to turn cylindrical pieces for legs and decorative elements of your projects, learning how to use a skew effectively is a must.
The Skew in Action
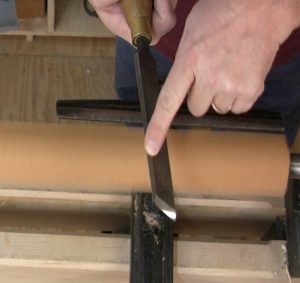
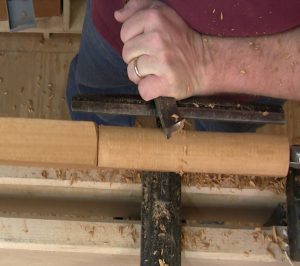
 To get the skew to cut you’ve got to get it up on the corner of the tool. Having the sharpened edge approach the wood at a steeper angle provides the sheer cut necessary for clean work. You can provide some stability to the cut by riding the bevel along the work as a guide. Lifting and lowering the handle controls the depth of cut.
The video today introduces you to your new best friend, the skew. I give some basic reasons why I choose a skew over other types of turning tools. And I show a couple of basic techniques. Today’s post is a primer for next week’s where I give you a handful of real-world exercises to develop, or improve, your turning techniques.
Thanks Chuck!