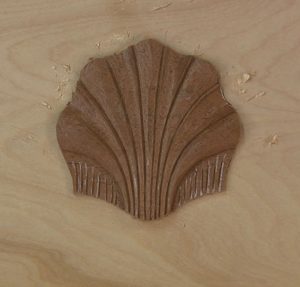
 Carving is one of those peripheral skills many woodworkers ignore, but you can add depth to your projects by including even a modest amount. In the video below, I walk you through scallop shell layout and the necessary tools to carve it.
Honestly, carving a scallop shell is far simpler than it looks, and it’s a great introduction to woodcarving. Even if you aren’t into period furniture, this simple carving project teaches you various skills that transfer to other styles of carving. And who doesn’t like seashells?
Woodcarving Tools – Scallop Shell Layout
 Many woodworkers shy away from woodcarving because they incorrectly assume they’ll need to spend copious amounts of money on tools, or that they need to be able to draw like Michaelangelo. Neither assumption is true.
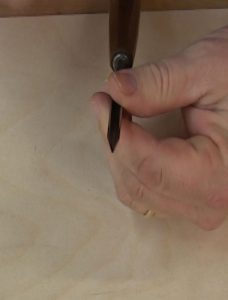
In the video, I run through my suggested list of 6 or 8 tools that form the core of my carving tool set. These gouges, combined with sharp bench chisels, are the tools I reach for most of the time whether I’m carving a scallop shell or some other decorative element. Sure, the more carving tools you have, the easier it will be to fit the tool to the job, but running out and buying thousands of dollars worth of tools to get started isn’t required to get started carving. It isn’t even necessary once you’ve developed the skills and dived into the deep end.
The first in a series, this video walks you through the carving tools I used most, and the step-by-step process of scallop shell layout.