 Adding tapered legs to your furniture projects is one way to give your pieces a lighter, more vertical appearance without complicating the design. You’ll find tapered legs showing up in furniture designs from the late 1700s through today.
There are several key factors that need to be considered when designing furniture with tapered legs. And while I’m perfectly willing to discuss, at some point, what constitutes a well designed tapered leg, today’s post is concerned with the making.
How to Make Tapered Legs on the Jointer
Most power-tool methods involve making some sort of jig to make consistent tapers. Even when making them entirely by hand, jigs certainly improve repeatability. But given the nature of power tools, there should be a method by which you can make repetitive tapers without spending a bunch of time and effort making jigs. Oh, and it would be great if the method was safe and didn’t eat up a bunch of shop time.
Well, Virginia, there is such a thing as a jig-less tapered leg. All you need is a jointer, a stop block, and some basic math skills. And what I mean by basic is, you’ll need to divide two different numbers in half. That’s it – queue the video.
Jointing Tapered Legs Recap
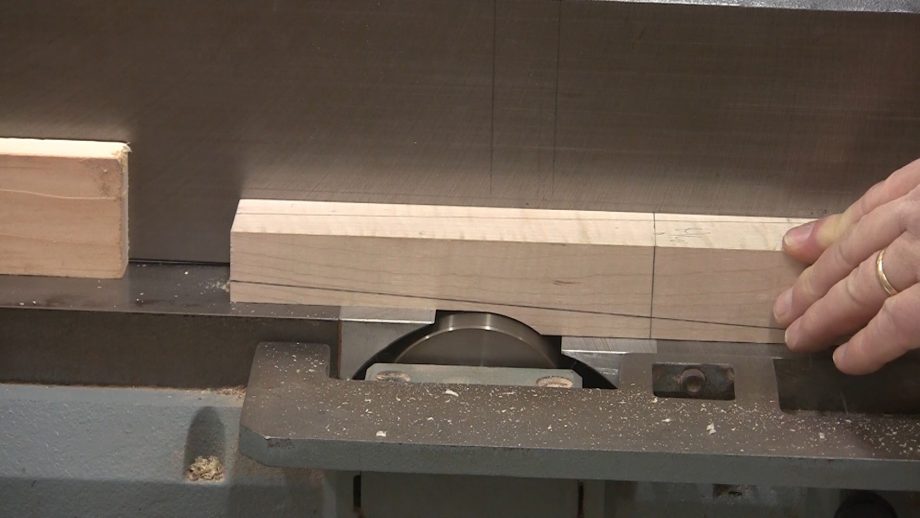 To recap, figure out 1/2 of the total taper, and that’s your depth of cut at the jointer. The example in the video has 3/4″ of total taper. Therefore the jointer is set to 3/8″. Once the depth of cut is set, use a scrap block to determine where the cutter head makes contact with the material, mark the fence.
Figure out 1/2 of the total length of the taper. The example in the video has 14″ of total taper so, 7″ is the number to use. Set a stop block that distance from the cutter head contact line and run the sides of all the blanks that are to be tapered foot first over the jointer.
 Once you’ve run them all, remove the stop block, then run them top first over the jointer applying pressure to the foot of each leg, so it pivots and makes contact with the jointer bed. Different size legs? Do the calculations, wash, rinse, repeat.